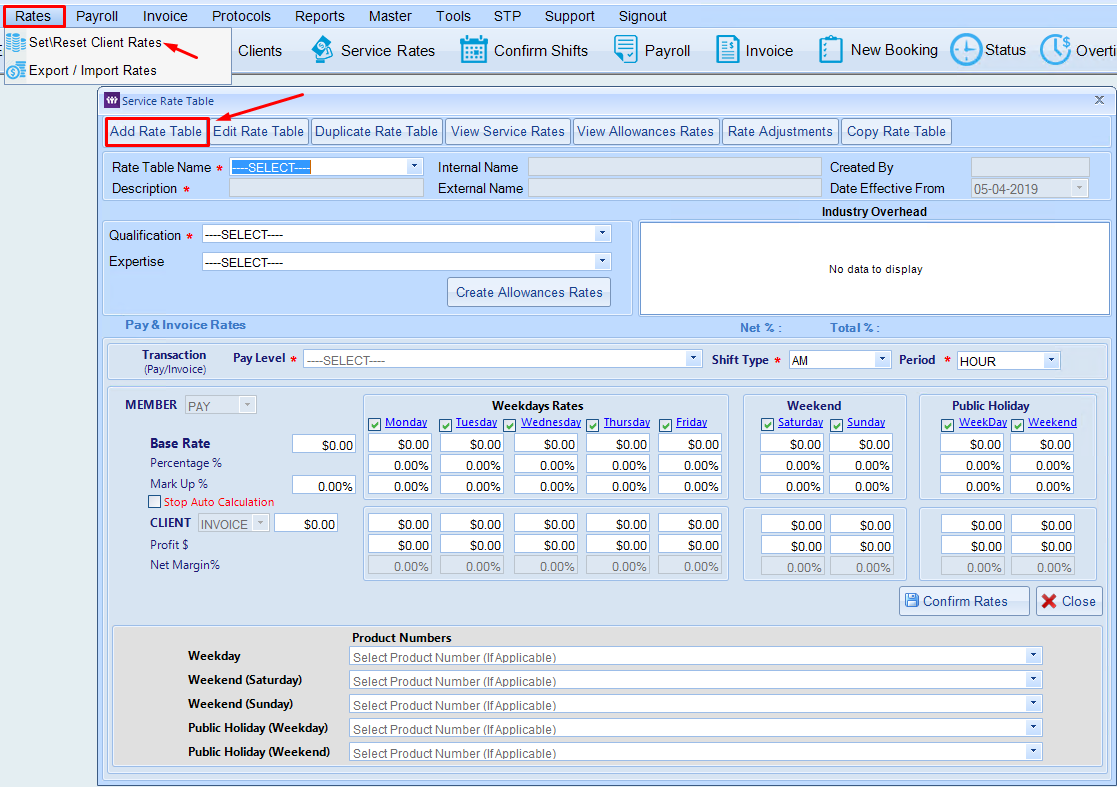
Create New Rate table templates.
Select Rates > Set/Reset Client Rates > Add Rate Table.
Add in the Rate table information
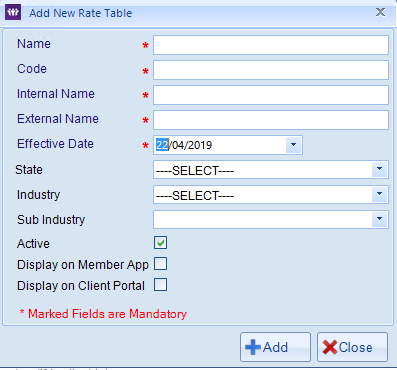
Name - is the name of the rate table. As you mentioned we do recommend to name the rate table in a way to make it easier for you to know when the rate table is effective from i.e. Rates 1 Apr 19Code - is the internal code used for reporting purposes in the system.
Internal Name - is again used for reporting purposes in the system.
External Name - is the name seen by members and clients on the portals and apps under shift worth section if the setting to show is ticked.
Effective Date - is the date in which the rate table will apply from in this case 22/04/19
State, Industry & Sub Industry - are optional fields that can be used to calculate the industry overheads while deciding rates.
Active - mark this unchecked if this is not an active rate table, by default it is checked.
Display on Member app & Client Portal - Check these options if you want the rate table names to be visible on apps and portals.
Select + Add once all mandatory fields are completed.